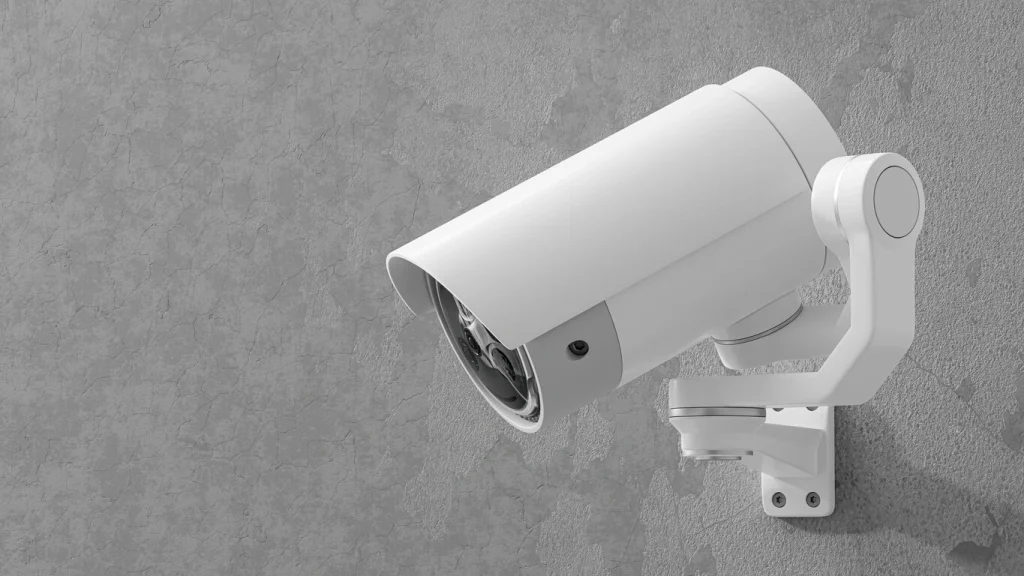
Thinking about adding a security camera system to your home or business? You’re not alone. One of the most common questions people ask when choosing a system is how to mounting security cameras properly. Whether you’re going with wireless security cameras or a wired security camera setup, the mounting process plays a crucial role in ensuring full coverage, optimal angles, and long-term reliability.

Content
Why Mounting Matters in Your Security Setup
You could have the most advanced outdoor security camera on the market, but if it’s pointed at the sky or vulnerable to tampering, it won’t do you much good. Proper mounting improves:
- Field of view
- Motion detection accuracy
- Weather protection
- System longevity
Whether you choose DIY installation or opt for professional installation, knowing the basics of how to mounting security cameras gives you greater control over your system’s effectiveness.
Choosing the Right Spot for Your Security Cameras
Before grabbing your drill, take a moment to plan. Mounting location is everything when it comes to security coverage.
Key Factors to Consider:
- Entry points: Front doors, back doors, and garages should always be monitored.
- Height: Mount cameras at least 8–10 feet off the ground to avoid tampering while maintaining a clear view.
- Angle: Adjust the tilt to cover your desired area without blind spots.
- Power source: Ensure the location has access to a power outlet (for wired security cameras) or a strong Wi-Fi signal (for wireless security cameras).
By choosing smart positions, you’ll avoid unnecessary adjustments and ensure your system captures valuable footage from day one.
Step-by-Step Guide to Mounting Security Cameras
1. Gather Your Tools
Depending on your camera type, you’ll likely need:
- Power drill and bits
- Screws and anchors (usually provided)
- Screwdriver
- Pencil or chalk
- Ladder
- Smart device or monitor for testing angles
2. Mark the Mounting Location
Hold the camera bracket against the wall or ceiling and mark the screw holes with a pencil. Double-check the camera angle using a live feed from your mobile app or monitor before proceeding.
3. Drill Pilot Holes
Use a drill to create small pilot holes where you’ve marked. If mounting to brick, concrete, or stucco, you’ll need masonry anchors.
4. Install the Mounting Bracket
Secure the bracket with screws. Make sure it’s level and tightly fastened to avoid sagging over time.
5. Attach the Camera
Mount the camera onto the bracket. Adjust it to the desired angle, then tighten any adjustable joints or screws to hold it in place.
6. Connect the Camera
- Wired security camera: Connect it to the DVR or NVR, and manage cables to prevent tangling or exposure.
- Wireless security camera: Pair it with your Wi-Fi network and test the signal strength in real-time.
7. Final Testing
Use the live feed to check positioning. Walk through the camera’s field of view to ensure motion detection and night vision are working correctly.
Tips for Mounting Outdoor Security Cameras
Outdoor security cameras need extra attention due to weather exposure and security risks. Follow these best practices:
- Use waterproof casing or cameras rated for outdoor use.
- Point cameras away from direct sunlight to avoid glare.
- Secure cables to the wall with clips or conduit to protect from rain and rodents.
- Avoid placing cameras under eaves where they might miss vital activity.
Proper mounting outdoors not only ensures better security but also protects your investment.
Wired vs. Wireless: Mounting Considerations
Both types of security camera systems have their pros and cons when it comes to mounting.
- Wired Security Camera: Often offers better image quality and no interference but requires planning for cable routing and power sources.
- Wireless Security Camera: Easier to install, especially in hard-to-wire locations, but dependent on Wi-Fi strength and battery life.
Your choice will influence where and how you mount the camera, so take this into account when planning your DIY installation.
When to Consider Professional Installation
If you’re unsure about your mounting skills or have a complex layout, professional installation can be a smart investment. Professionals will assess your property, suggest optimal mounting points, and ensure that your security camera system is set up for peak performance.
However, if you enjoy hands-on projects and follow these steps, DIY installation is absolutely doable.
Final Thoughts about Mounting Security Cameras
Mounting security cameras system correctly is one of the most important steps in protecting your home or business. Whether you’re using wireless security cameras, a wired security camera, or an outdoor security camera, thoughtful placement and secure mounting can make or break the effectiveness of your setup.
Take your time, plan your angles, and test everything thoroughly. With the right approach, your DIY installation will deliver professional-level results—and peace of mind.
Frequently Asked Questions
What is the best height to mount security cameras?
Mount security cameras 8 to 10 feet above the ground to avoid tampering while maintaining a wide field of view and effective motion detection.
Can I mount a security camera without drilling?
Yes, you can use adhesive mounts or clamps for lightweight cameras, especially indoors. For outdoor or heavier models, drilling is recommended.

Jerald is a blogger with a passion for technology who has been writing about the latest in the world of gadgets and gizmos. They are an avid reader of Science-Fiction novels and love to spend time with their wife and kids.

